
← Help Center · Vehicle management
Edit vehicle information in Vialumina
This guide shows how to manage vehicle information in the Vialumina web interface. You will learn how to open edit mode, update vehicle details and manually adjust the odometer reading when needed.
Step 1 – Go to Vehicles
- 00:01 Go to Vehicles in the menu on the left.
Step 2 – Open a vehicle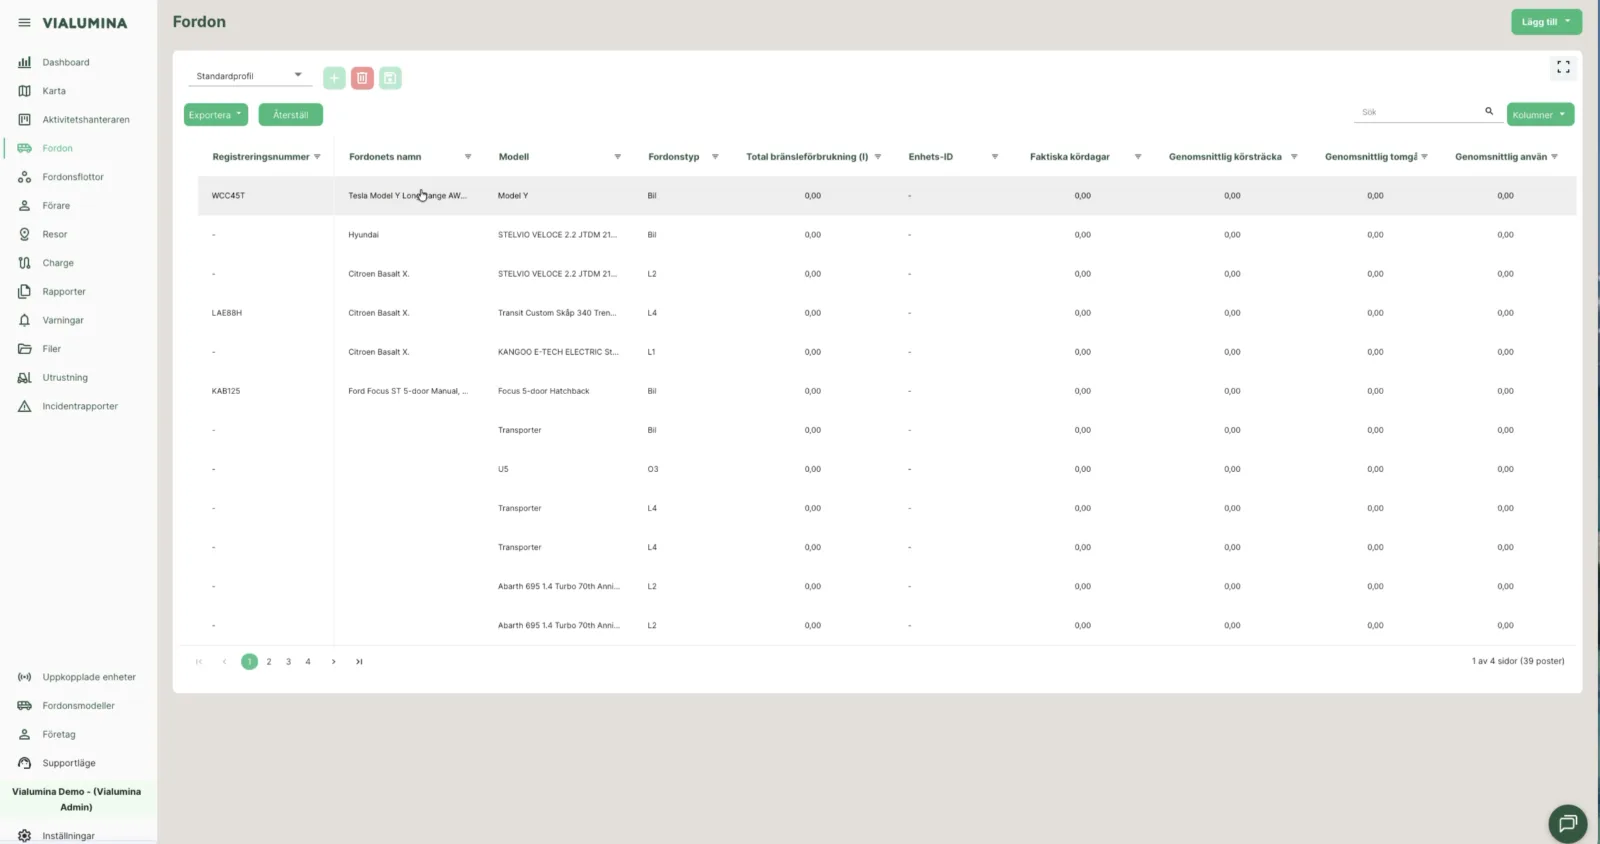
- 00:03 Click the vehicle in the list that you want to view or edit.
Step 3 – Open edit mode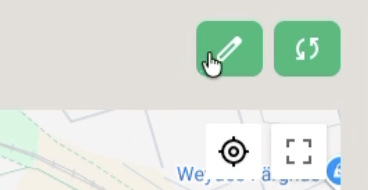
- 00:07 Click the edit icon (the pencil) in the top right.
Step 4 – Change information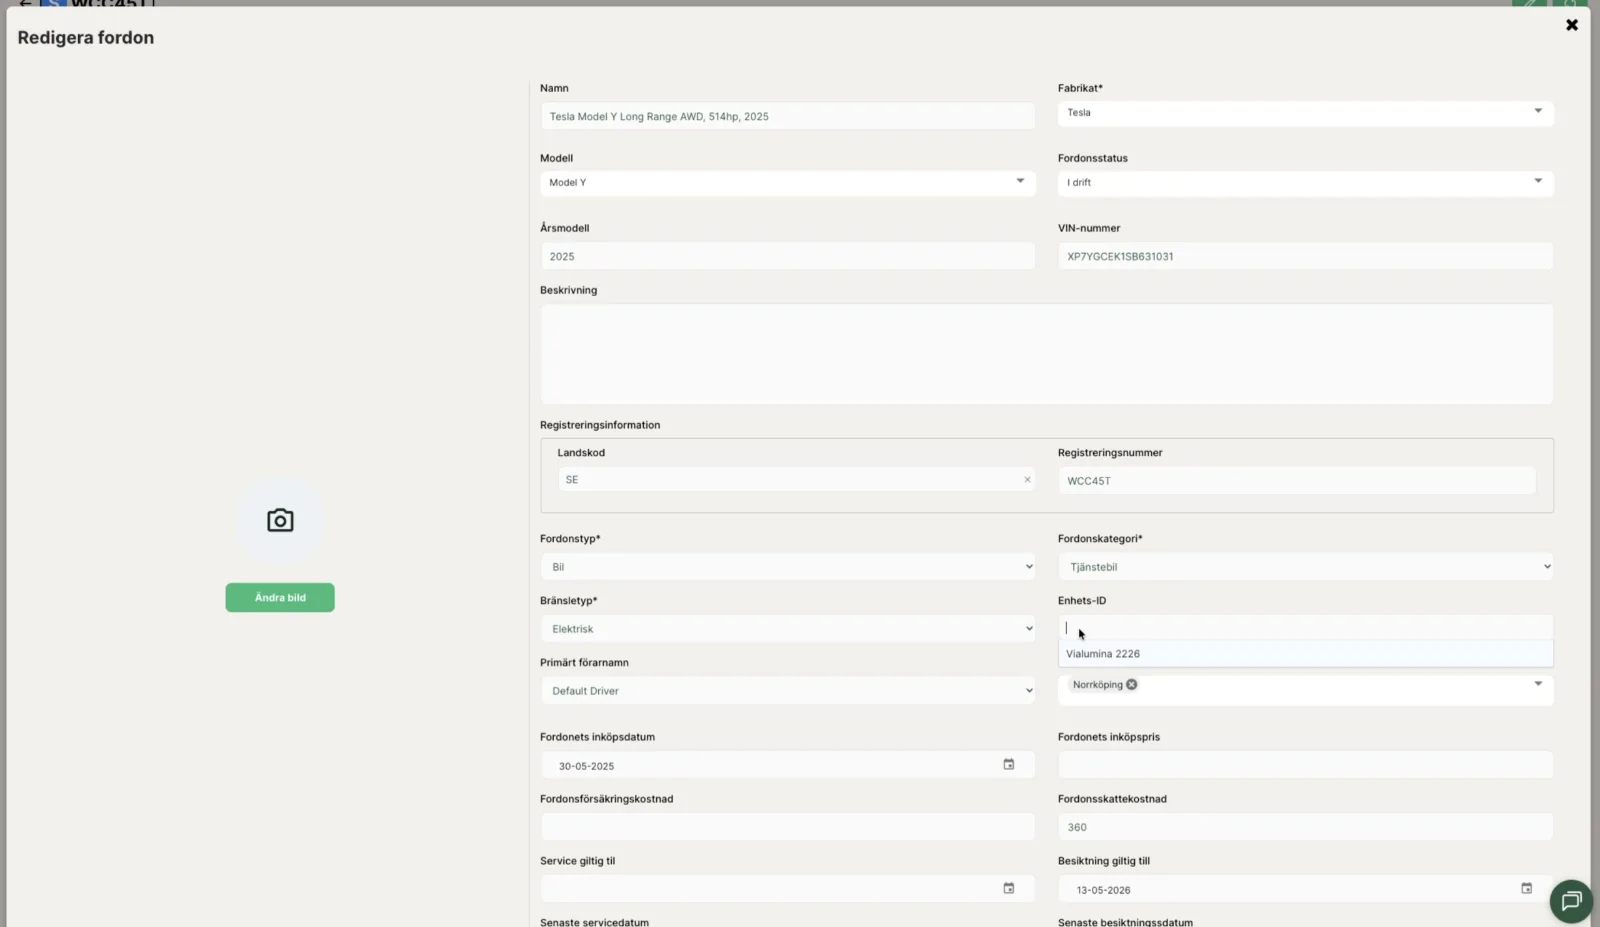
- 00:09 Fill in or change the information you want (e.g. Device ID or Vehicle category).
Step 5 – Save changes
- 00:15 Scroll down and click Create to confirm the changes.
Update odometer manually
Step 1 – Open the vehicle’s detail page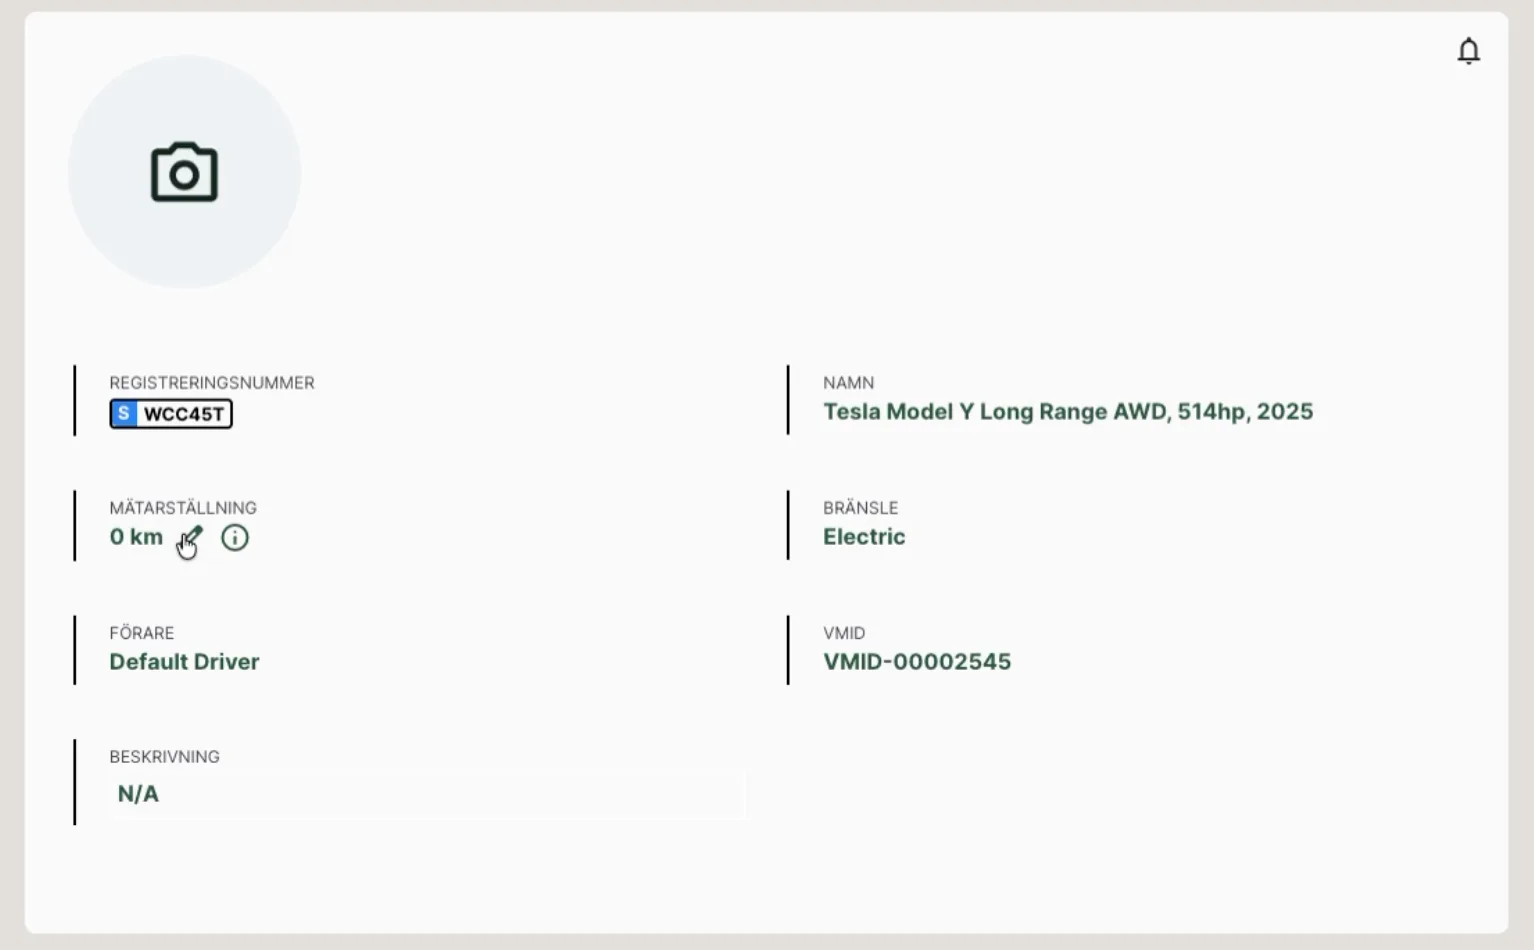
- 00:23 Click the Odometer field.
Step 2 – Enter the new odometer reading
- 00:35 Type in the correct odometer reading.
- 00:42 Click the check mark icon (✓) to save.
- A confirmation is shown.
Not using Vialumina yet? See how mileage logs, vehicles and charging work together in one system.
Book a demo